How to Make a Normal Map from a Photo: 4 Working Methods
A normal map is a texture that encodes surface relief into pixel color: flat geometry starts looking detailed without extra polygons. Below are four ways to get one from an ordinary photograph — from classic plugins to on-device Android scanning.

Method 1. Photoshop + NVIDIA Texture Tools plugin
- Open the photo:
File → Open. - Desaturate:
Image → Adjustments → Desaturate(Ctrl+Shift+U). Brightness becomes “height”: lighter = higher. - Boost contrast:
Image → Adjustments → Levels(Ctrl+L) so the relief reads clearly. - Install the free NVIDIA Texture Tools Exporter plugin.
Filter → NVIDIA Texture Tools → Normal Map, tune the relief strength.- Save as PNG.
Method 2. GIMP + NormalMap plugin (free)
- Install GIMP and the NormalMap plugin (Windows / Linux / macOS).
Colors → Desaturate.Filters → Map → Normalmap.- Tune parameters (strength, wrap, height source) → OK.
File → Export As…→ PNG.
Method 3. Online normal map generators
Services like NormalMap-Online: upload a photo → tweak sliders → download PNG. Nothing to install, but three “buts”: the photo goes to a third-party server (privacy), the output is 8-bit, and the generator gives no other maps (albedo, roughness, height).
Method 4. Photometric stereo on Android (real relief)
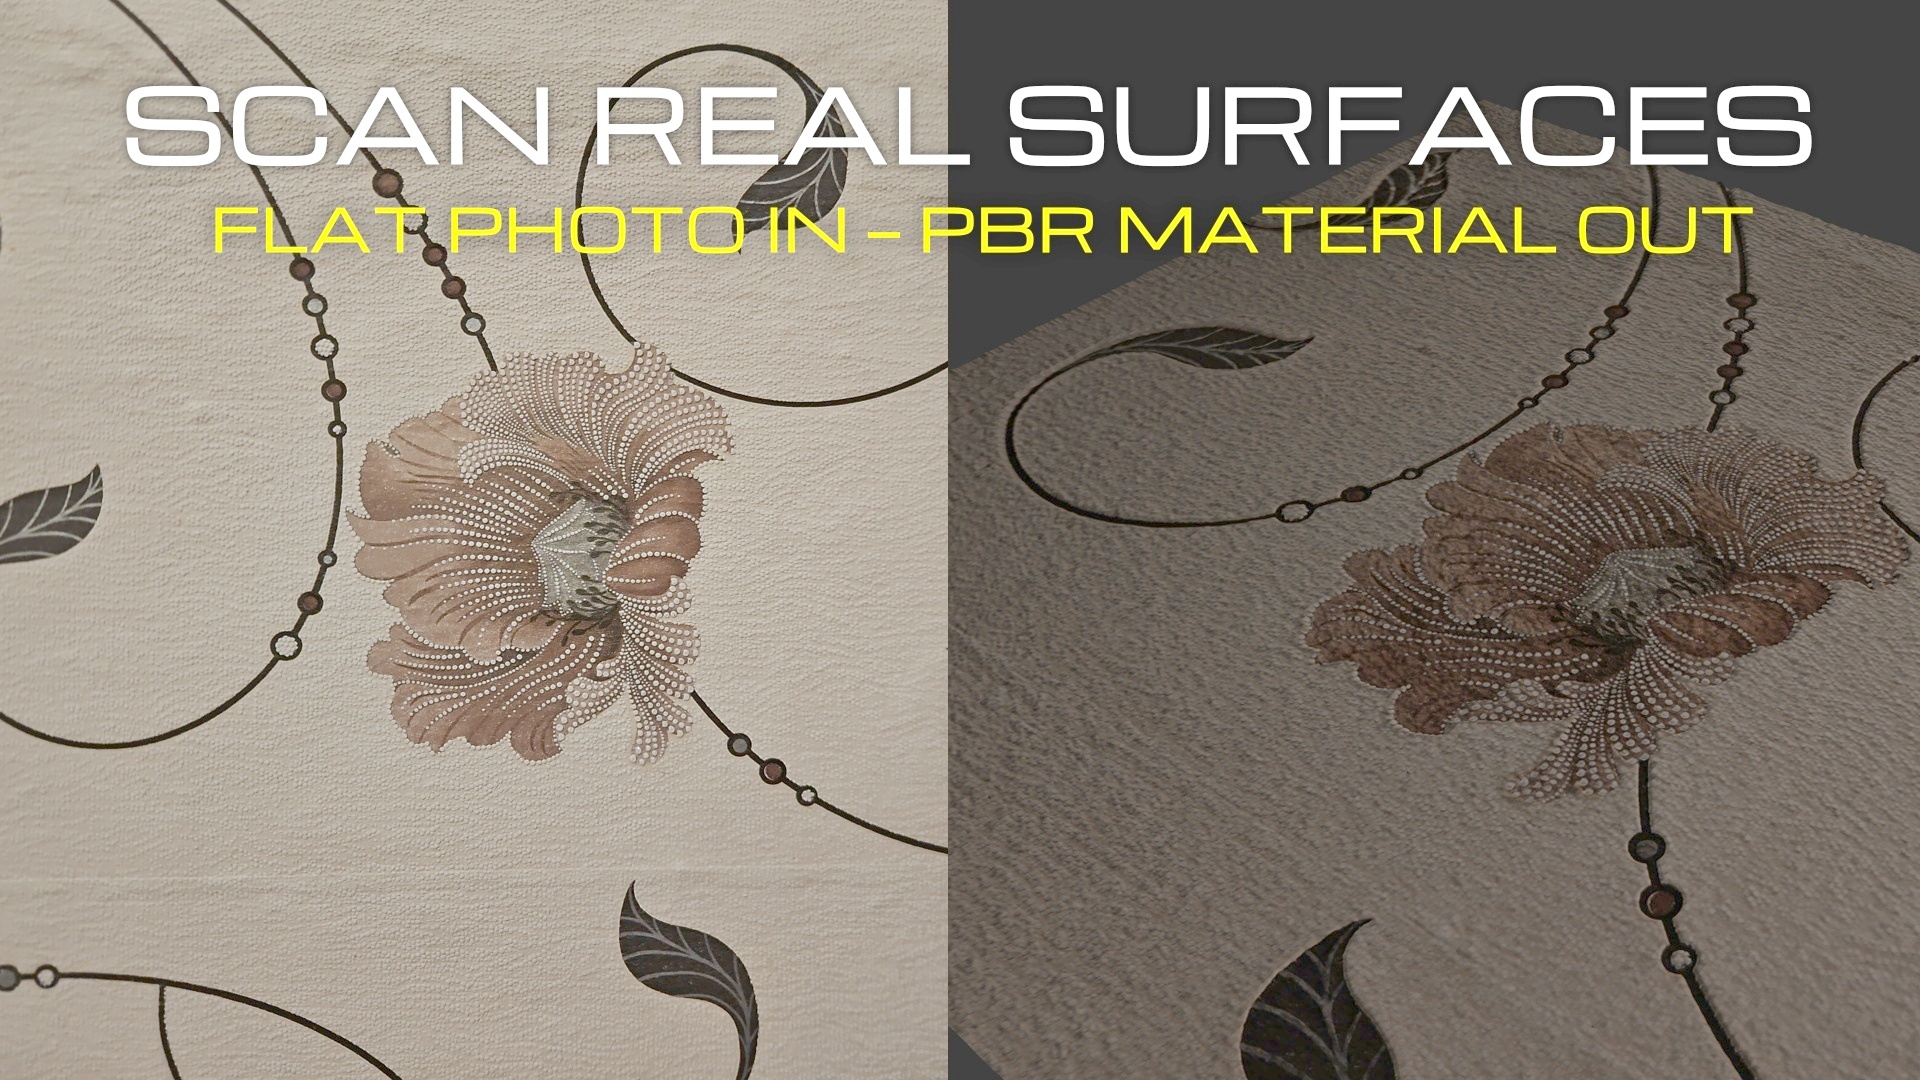
The first three methods assume relief from brightness. The fourth measures it: the Shape-from-Shading method captures a series of frames under different lighting (flash + screen) and computes how the surface reflects light at varying angles. The result is a true micro-relief map, not an imitation.
In NACK3D it looks like this:
- Open the app and point the camera at a surface.
- Tap CAPTURE — the phone shoots the series with different light on its own.
- In ~7 seconds you get 16-bit Normal and Height plus Albedo, Roughness, AO and Specular — all processed on-device, no cloud.
- Export to Unity, Unreal or as separate files.
Method comparison
| Method | Cost | Relief source | Bit depth | Other maps | Privacy |
|---|---|---|---|---|---|
| Photoshop + plugin | Adobe subscription | brightness | 8 | none | local |
| GIMP + NormalMap | free | brightness | 8 | none | local |
| Online generator | free | brightness | 8 | none | photo on server |
| NACK3D (SfS) | 7 days free | light (photometric stereo) | up to 16 | 6 maps | local, offline |
Frequently asked questions
Why is a normal map purple?
The RGB channels encode the normal’s offset along the X, Y, Z axes. A flat patch is the vector (0, 0, 1), which in color gives (128, 128, 255) — that lilac-blue tint. Relief offsets shift the color toward red and green.
OpenGL or DirectX: what’s the difference?
In OpenGL the green channel points up (Y+), in DirectX — down (Y−). The wrong choice flips the relief inside out. Unity uses OpenGL, Unreal uses DirectX; NACK3D has a Flip Y toggle and ready-made packs for each engine.
What bit depth do I need?
8 bits is enough for game materials at mid distance. For close-ups, displacement and cinematics take 16 bits — otherwise smooth slopes show banding steps.
Can I make a normal map from a single photo?
Methods 1–3 work with one file, but the relief will be conditional. Photometric stereo needs a series of frames under different light — the phone shoots it itself in a second, so the result is closer to a real scan.
Try Method 4 in practice
NACK3D — a texture scanner for Android: normal, depth and a full PBR set from a single shot, processed on-device. The first 7 days are free.
Get it on Google Play ↗